|
— We're away on a photography trip — Don't worry - we'll be back 21st February All orders will be processed within a few days of our return - Thank you! |
Panoramic photo tips
Panoramic photo tips - Photography for outstanding panoramas
Mastering the art of panoramic pictures
If you've ever wondered how awe-inspiring panoramas are created, then you're in the right place. In this article, we're going to dive into the world of panoramic photography, where we'll explore the art of breaking boundaries and mastering the art of framing wide-angle shots. But first, let's set the stage. Imagine standing on the edge of a majestic mountain range, or gazing out at the vastness of an endless ocean. These are moments that panoramic photography seeks to capture - the grandeur and immensity of the world around us, encapsulating that sense of wonder and awe to life in a single picture.
Understanding the basics of panoramic photography
We'll try to unravel the technical aspects needed to achieve those sweeping, wide-angle shots including dealing with light and shadow, understanding backlighting and keeping your photos level. From there, we'll delve into the world of composition techniques, discovering how to create captivating panoramas that draw the viewer in and hold their attention. We hope to help you, ensuring that your panoramic shots go beyond the ordinary and leave a lasting impression. Are you ready to unleash your creativity and take your photography skills to new heights? Then stay with us as we embark on a journey of breaking boundaries and mastering the art of panoramic picture taking. Capture breathtaking panoramas that will leave a lasting imprint on anyone fortunate enough to view them. So, grab your camera or phone and let's get started!

Where is the light and shadow?
Capture light in the foreground, not just the distance
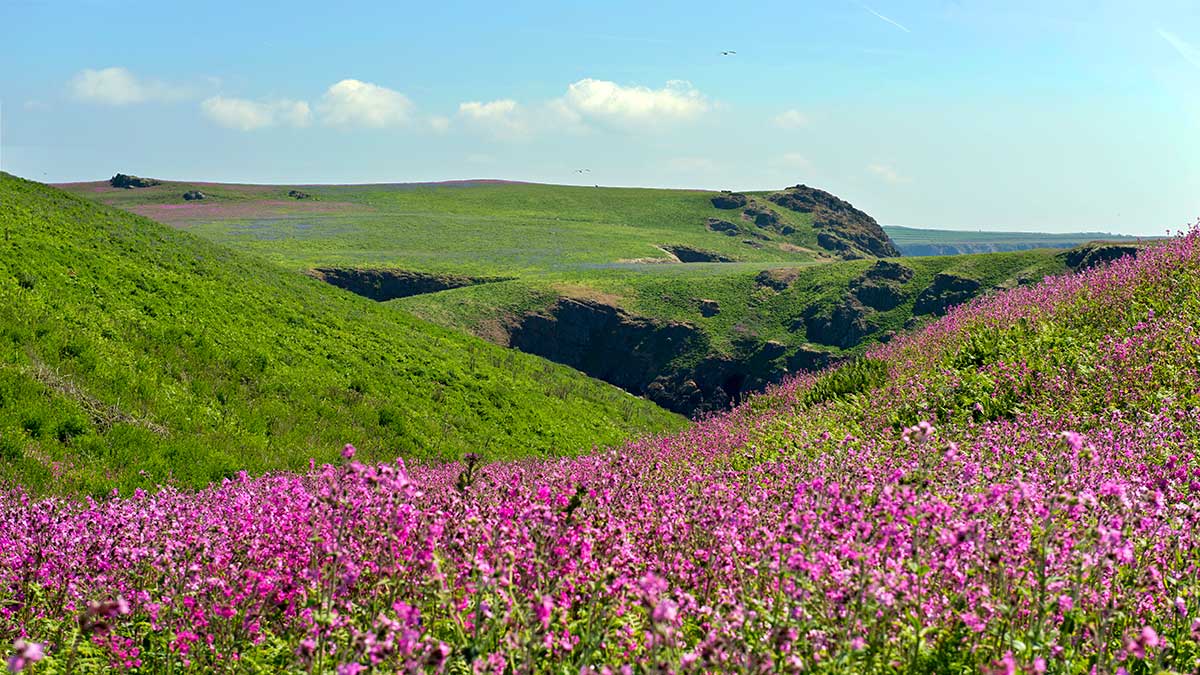
Dive into the world of panoramic photography and break boundaries by mastering the art of framing wide-angle shots. When taking a panoramic picture of a stunning view in the distance, beautifully lit by sunlight, it is sometimes easy to forget what is contained within the foreground of the picture. You may be standing on a hillside with majestic mountains stretching out before you, as you aspire to create stunning panoramic pictures that truly captivate your audience. As you take a photo of the hills and vales beyond, you fail to notice that much of the foreground is in shadow, not lit by the sun. Remember to keep in mind the impact of different lighting conditions on your panoramic shots. When capturing a panorama, try to minimise extreme variations in lighting, as they can lead to overexposed or underexposed areas in the final image.
You can be so enraptured by the breathtaking view as you raise your iphone or smart phone to capture the moment, that a third of the photo or more is actually in darkness. When viewed on your phone or camera, the dark area is not obvious. Sometimes this means that there is no detail and often an overpowering black area in the lower portion of your panorama when it is turned into a large poster. In order to achieve a cohesive and harmonious final image, ensure uniformity in lighting and colour across your panoramic shot. Simply slightly adjusting the angle of your camera can easily solve this issue and give you a better result. Lighting variations can create contrasting moods and atmospheric effects, but they can also present challenges. Taking an extra moment to analyse the light will empower you to unleash your creativity and capture breathtaking panoramas that leave a lasting impression.
What is backlighting in panoramic photography?
Backlighting can be an effect or a difficulty
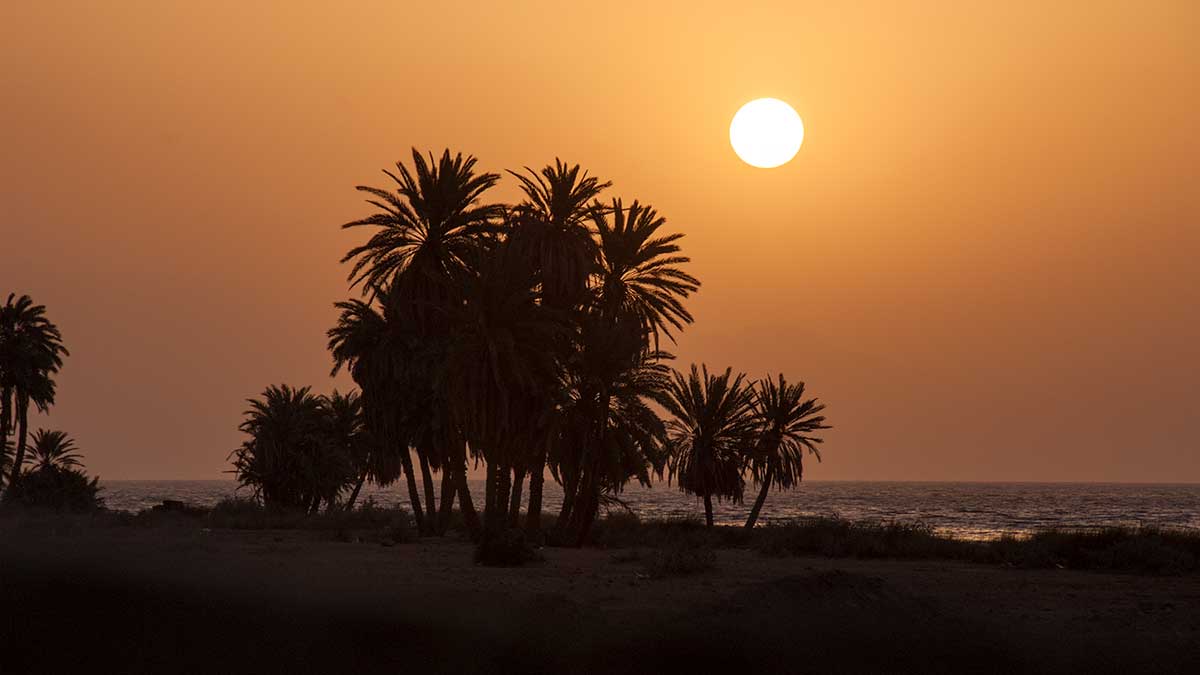
Backlighting is one of the most frequent issues with photography that contain subjects.This is especially true with stunning sunsets but is also often evident in full sunlight. In photographic terms its referred to as ‘backlighting’. In basic terms, this means that more light is coming from behind your subjects than from the front. As the camera adjusts its settings for the photograph, influenced by the stronger light in the background, the faces of people or main objects are left in darkness. This can sometimes be used for beautiful effects such as silhouettes on the seashore in the sunset, however it is not always desirable.
Backlighting is often not necessarily obvious when you compose a photograph. You place your subjects in front of a lovely sunny view or a vibrant orange sunset. Your eyes automatically adjust to the light and shade of the picture. To your personal perception, the faces or main objects are perfectly lit. However, when it comes to printing out a large panorama, suddenly the faces are in complete darkness and barely recognisable.
Adjusting your technique
There are a few possible methods of combating this effect when composing your photo. As you raise your iPhone, smart phone or camera to view, take a quick look at the subjects you wish to be visible, not just the overall composition. You may be shocked to discover that they are just dark blobs, even in brilliant sunlight. A simple solution is to play a little with the positioning of your camera or your subjects, perhaps taking a few panoramic photos from slightly different angles so you can choose which one works best.
Another method is to use your flash. Some cameras allow you to use a flash by personal choice, not just automatically. It seems daft to use a flash in broad daylight but this is a method used by many professional photographers. Your flash will highlight the faces of your subjects, making them more visible against a bright sunny backdrop. However, not all is lost if you haven’t followed these hints - remember we are here to help. When we print panoramic photos, we will often lighten just the faces in order to get the best result from images with family and friends.
How do I know if my panoramic photo is level?
Panoramic horizons
Panoramic photos with sea and sky are the most vulnerable images for capturing a well placed view, so always check the line of the horizon. It sounds silly, but something that is difficult to see when you are busy photographing a view, is often the levelness of the horizon. This is often the case regardless of whether you are taking a picture with or without subjects; it is amazingly easy to hold your iPhone, smart phone or camera slightly askew without even noticing. With mountains and hillsides, this is not of any particular importance, so long as the overall view is attractive.
When taking a view with sea in the background, the horizon level becomes very evident in your final panorama. With panoramic photo prints, even a small amount of tilt becomes evident when viewing from one end to the other. That’s not to say that you need to use a spirit level, or go to the extremes of a tripod! Simply take a moment to view the sea in the background, checking to ensure that the line where the sky meets the sea is as level as possible, perfection is not necessary, just a little adjustment to ensure your panoramic poster will be the best it can be. Whatever your image, at Poster Print, we will always ensure that your prints are the best they can be!
How to make my picture visually stunning?
Capturing a sense of width and depth
While a wide field of view can be overwhelming, it provides an opportunity to experiment with foreground, middle ground, and background elements. By incorporating interesting foreground elements, such as leading lines or natural frames, you can enhance the depth and visual appeal of your panorama. Additionally, paying attention to the rule of thirds and leading lines can help guide the viewer's eye and create a sense of balance and harmony within your composition.
Composition is the most basic concept for all photography, regardless of whether you are taking a beautiful panorama or a standard photo, so it seems redundant to even mention it. However, a small adjustment can make a massive difference to the final image. Today’s digital devices take amazing quality pictures so its well worth taking a little additional time to create your photographic composition.
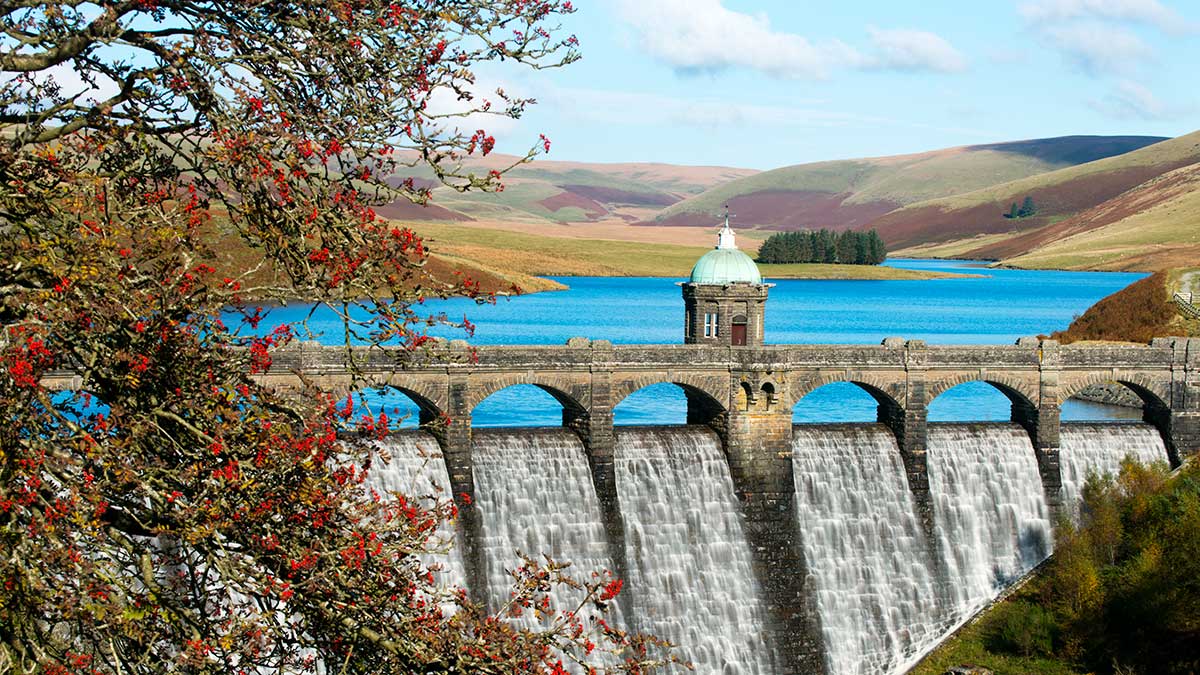
One technique is to include some photographic definition in the foreground such as the branches of a tree or an object, creating additional depth within the image. Another method is to look at the complete breadth and height of the landscape, moving your camera or phone from left to right, top to bottom. As you view the result, ensure that you have captured the most interesting view, perhaps introducing a unique aspect to your photograph. Taking that extra moment can create a panoramic poster that will become a beautiful enhancement to your home when hung.
Understanding these basics of panoramic photography will set the stage for your journey into creating mesmerising panoramas. With your phone or camera plus a little technical knowledge and compositional thought-fulness, you'll be able to capture breathtaking images that transport your viewers into a world of boundless beauty. So, let's now explore the composition techniques that will take your panoramas to the next level.
What are panoramic composition techniques?
Leading lines, the rule of thirds and foreground
Perfecting composition skills are crucial for creating captivating panoramas. While the wide field of view can be overwhelming, it provides an opportunity for experimenting with foreground, middle ground, and background elements. By incorporating interesting foreground elements, such as leading lines or natural frames, you can enhance the depth and visual appeal of your panorama. Additionally, paying attention to the rule of thirds and leading lines can help guide the viewer's eye and create a sense of balance and harmony within your composition. Understanding these basics of panoramic photography will set the stage for your journey into creating mesmerising panoramas.
With the right patience, technical knowledge, and compositional skills, you'll be able to capture breathtaking images that transport your viewers into a world of boundless beauty. These composition techniques will not only elevate the aesthetic quality of your panoramas but also allow you to communicate a specific mood or story. Experimenting with different perspectives and angles can help you create a sense of depth and dimension in your images. Adjust you position and angle to include something relevant in the foreground. Incorporating a strong foreground element can lead the viewer's eye into the frame, adding a sense of scale and visual interest.
Why hurry? Enjoy the view!
Don't underestimate the power of leading lines. These are natural or man-made elements that guide the viewer's gaze along a specific path within the image. Whether it's a winding road, a river, or a row of buildings, leading lines add a dynamic element to your panorama, drawing the viewer's attention to specific areas of interest. Keep in mind the rule of thirds, a fundamental principle in photography. Instead of centering your subject, try placing it off-centre at the intersecting points of the imaginary grid that divides your frame into thirds both horizontally and vertically. This simple technique can create a more visually appealing composition, adding interest and balance to your panorama.
Equipped with these composition techniques, you will be able to create captivating panoramas that effortlessly lead the viewer's eye and evoke a strong emotional response. Keeping awareness of these composition techniques, you can endeavour to create captivating panoramas that effortlessly lead the viewer's eye and evoke a strong emotional response. Overcoming common challenges to push the limits and achieve stunning results, watch as your panoramas become works of art that tell compelling stories and draw viewers into the scene. So go out there and make your panoramic photographs come alive. Your audience awaits, eager to be transported by the magic of your visceral world.


