|
— We're away on a photography trip — Don't worry - we'll be back 21st February All orders will be processed within a few days of our return - Thank you! |
Light in photography
What are the effects of light in photography for print?
Light is possibly the most important but difficult element in photography
Light is the foundation of image capture
Phones, computers and tablets all contain their own light source from behind which transfuses your photo with light. However when printed, your photo will rely on an external light source in order for the image to be viewed. This means that paying a little extra attention to light and shadow becomes important if you wish to print your holiday snaps. Capturing happy moments with your camera or phone has become a major part of every holiday, weekend away or evening out. However, there are still a few easy ways to ensure that your photos are at their best, regardless of whether you plan to print photos or just keep images as treasured digital memories.
More and more pictures are taken every year
According to a major UK high street camera store, approximately 1.8 trillion pictures are captured every year. The advent of camera phones and pads with cameras has changed casual photography forever. The new age of cameras built into mobile devices means that wonderful pictures can be taken with the phone or tablet which you probably have out anyway. They can be stored on your device, uploaded to the cloud or sent direct to Instagram and Facebook. Photography made easy, but try to be aware that viewing a photo on a screen is different from a print, especially where light is concerned.
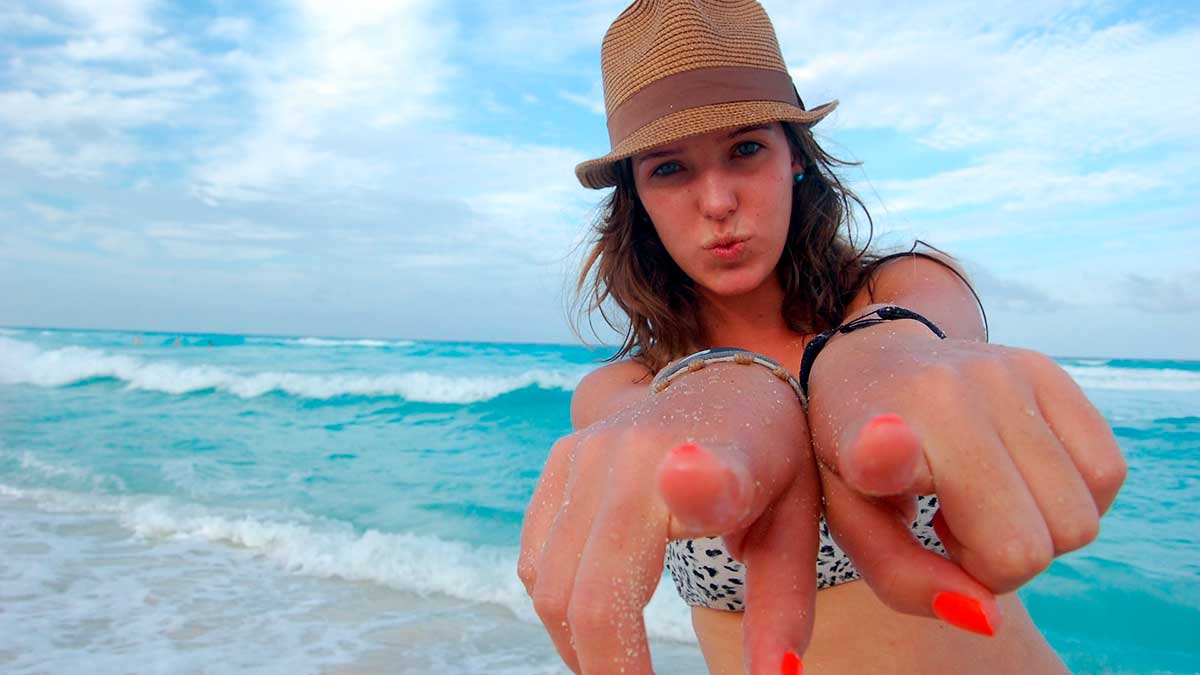
Holiday snaps
A typical picture taken on holiday or from a day out by the beach. The female in the photo happily points at the photographer with a bright sunlit sky behind for a delightful fun shot. However her eyes look more like those of a masked bandit as the cap on her head is casting a shadow.
This would still make a lovely print of a happy moment. For more posed shots of friends and family it's a good idea to see if their eyes are in shadow which can involve removing hats or caps. Alternatively stand with the light behind you and have your subjects face into the sun.
Light in photography - how to deal with light and shadow?
Awareness of the available light in a composition
Light in photography for portraits
By far the most frequent issue with photos is light availability on the central subject. This becomes especially relevant when you want to get your images printed. It may be that you see a beautiful archway or alcove which is surrounded by sunlight. To the human eye as you take in the entire setting, you perceive a beautiful image, brightly lit. Obviously, the perfect photograph. You direct your subjects to stand in the archway, alcove, cave or beneath a tree and take a snap. The problem is that within the area that your subjects are placed there is shade, not light. This means that your friends or family and their faces are in darkness.
Screen versus print
When viewed on screen, your eyes utilise the light available on the digital display to just about make-out your subjects. However, when converted into the print environment for a poster or canvas, the faces are barely discernible. It is much wiser when taking a photo to ensure that your friends or relatives stand within the sunlit area, slightly in front of any shadows. Just take a quick look to make sure their faces are clearly lit. You can still take your perfectly posed image with the archway or tree behind your subjects rather than have them posing in the shadows. Ideally, place your subjects facing the light as it comes from behind you, not them.
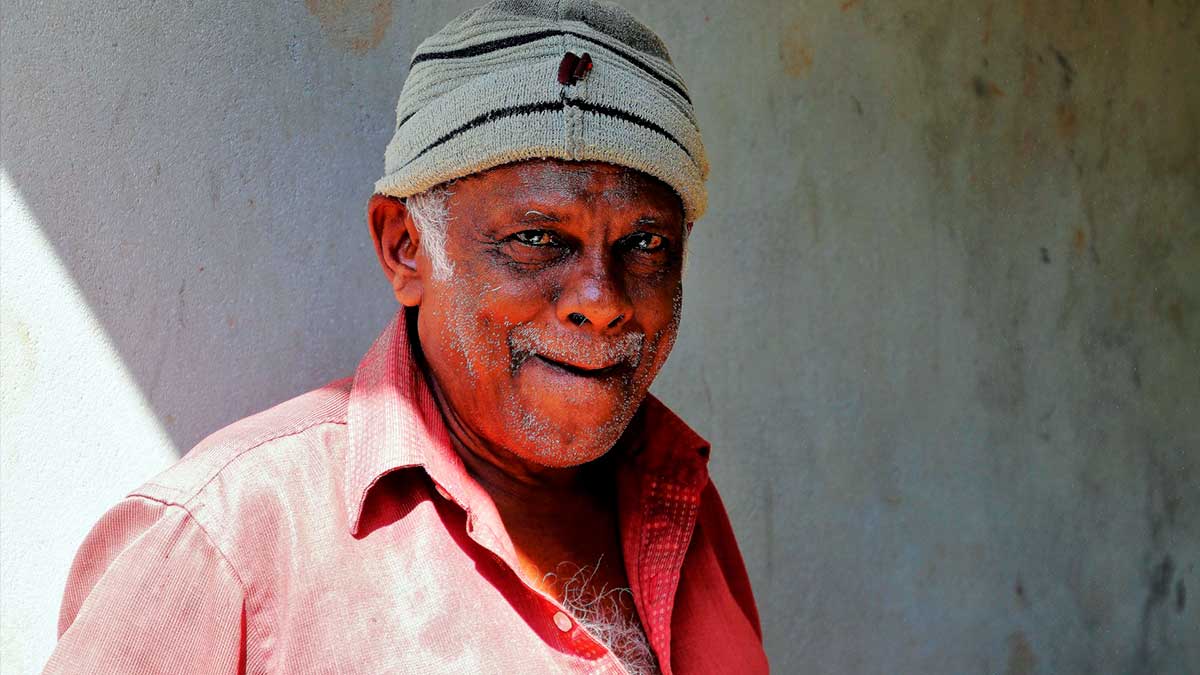
A captivating face
Sometimes as a photographer you become so fixated on the character of a face, you neglect to notice that the subject is not standing in the light. This image shows a bright sunny day against a white backdrop.
Parts of the man are well lit but unfortunately his face is completely shadowed. Its normally not too much of an imposition to ask your subject to step over into the light so that the character details of his face can be seen.
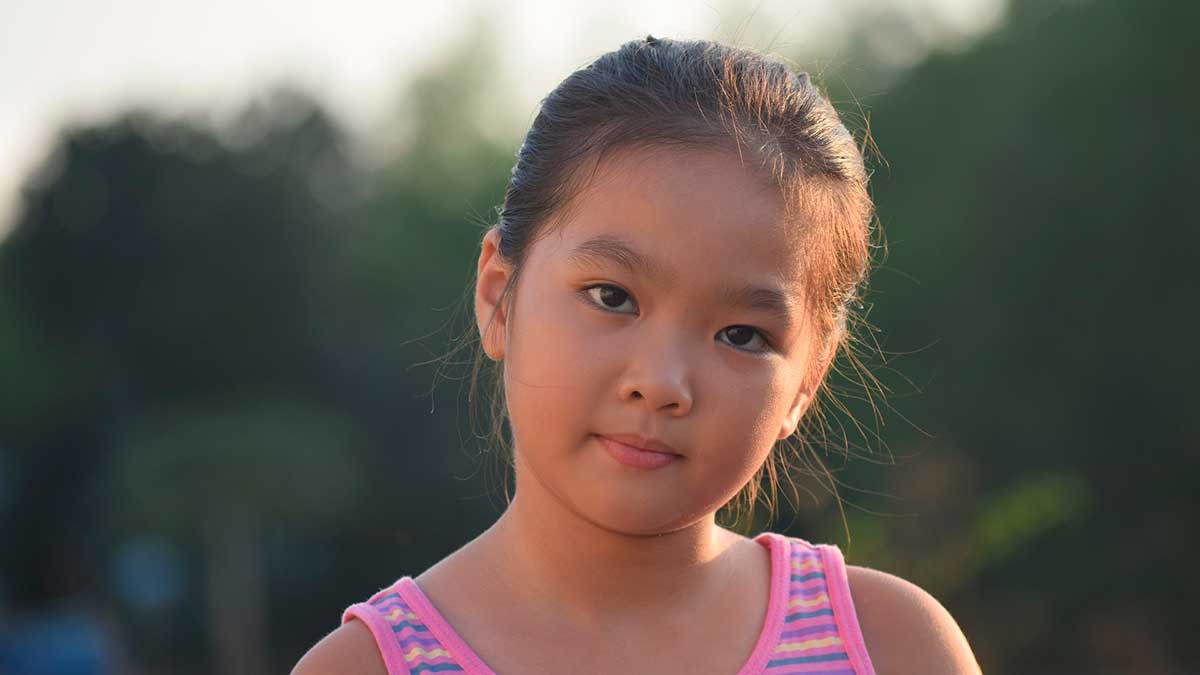
Twilight
A young girl, kindly posing for the camera. However, the photographer has failed to notice that in the twilight, all the light is coming from the side of the setting sun. Therefore when the photo is taken, the details of the young girl's face are hardly visible.
Her face is completely flat with not evidence of light or shadow to bring out her features. Simply asking the subject to turn partially or fully towards the sun would solve the problem. A portrait photographer is always best standing with back to the sun.

Wildlife photography
A squirrel posing in the shadows - well there's not a lot to be done about this capture. One of the inherent challenges of wildlife photography - asking a squirrel to move into the light will not succeed!
However, at Poster Print, we will always endeavour to bring out the best in your photography, even if that means adjusting an area of the image to make it lighter. Some magical moments just need to be captured and printed.

Group shots
Unfortunately, all of the boys in this shot are standing in the shade of the tree which makes it difficult to see their faces. With group travel shots such as tropical weddings the same problem can occur.
It seems a lovely idea to have all the guests standing in the shade of a tree for the photo. However, it is best to take pictures with everyone standing out of the shade and the sun coming from behind the photographer, thus avoiding shadows.
How does backlighting affect photography?
What is backlighting in a picture?
Backlighting means just what it says
Backlighting means that the light is coming from behind your subjects and heading straight into the camera lens. Effectively this causes your family or friends to be silhouettes. Often when looking and a view with the human eye, you look towards the sun and it appears as though everything is beautifully lit. This is especially true when asking people to stand in front of a landscape for a panoramic print, but can also occur when people are sitting on a bench or standing in a garden. To the human eye, there is a perception of light coming from all directions, making a perfect setting. As a photographer, you ask your subjects to stand in the sunlight unless of course you are striving to create a silhouette effect which in itself can create a memorable image.
To your eye, everything is bathed in sunlight
Often with the sun either behind your subjects or off to the side, their faces are in shadow. When taking your holiday snap you hardly notice that their features are obscured, it only becomes apparent when you view your images later. The best place for the sun to be located for any image is behind the photographers back, or slightly to the side and behind. This way, the light will be shining onto the faces of your subjects. Sometimes this causes people to squint a little but it they turn their faces slight to the side or gaze directly into the camera rather than the sun the end result will be well worth it. When you come to view your photos onscreen or have them printed, you will have a memorable image capturing the faces of the friends and family who shared the experience with you.
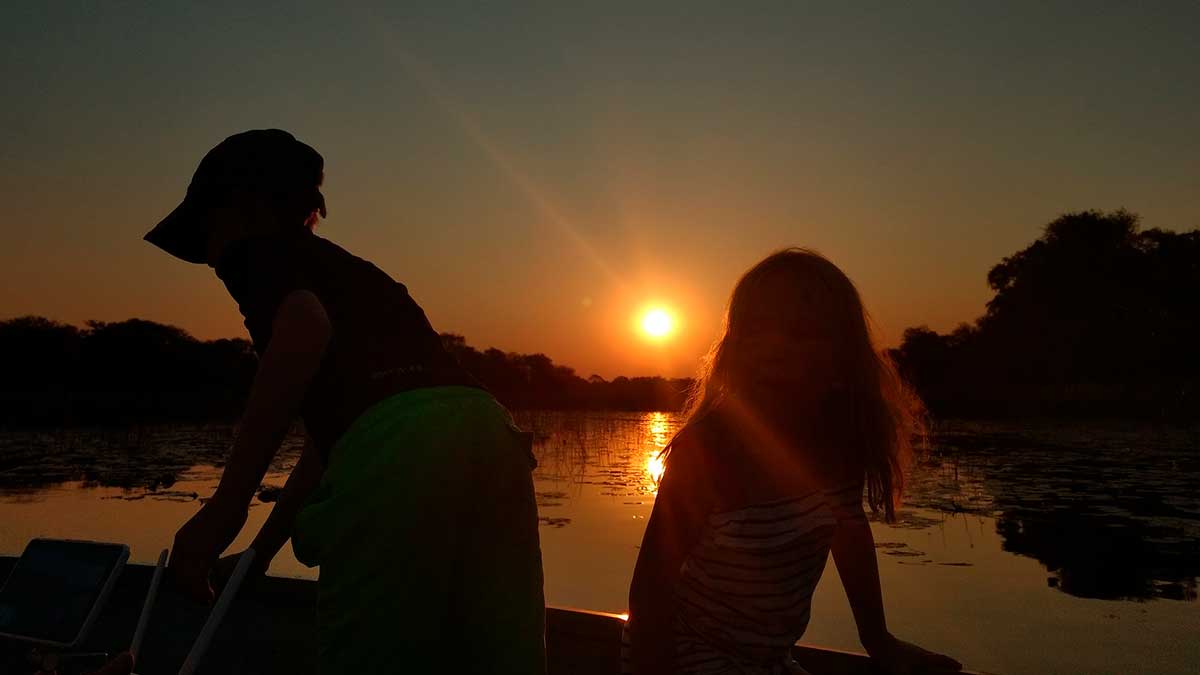
Sunset
Two children playing in the setting sun. Your eye sees faces however, the camera sees only the sunlight behind. The automated settings on the camera will adjust to the brightest area in the centre of the frame, leaving the children in darkness.
Sometimes a silhouette feature is desired, at other times you wish to see faces. Often simply taking the photo from an alternative angle with the sun partially obscured, or ensuring that you focus on the subjects can help lessen the effect.
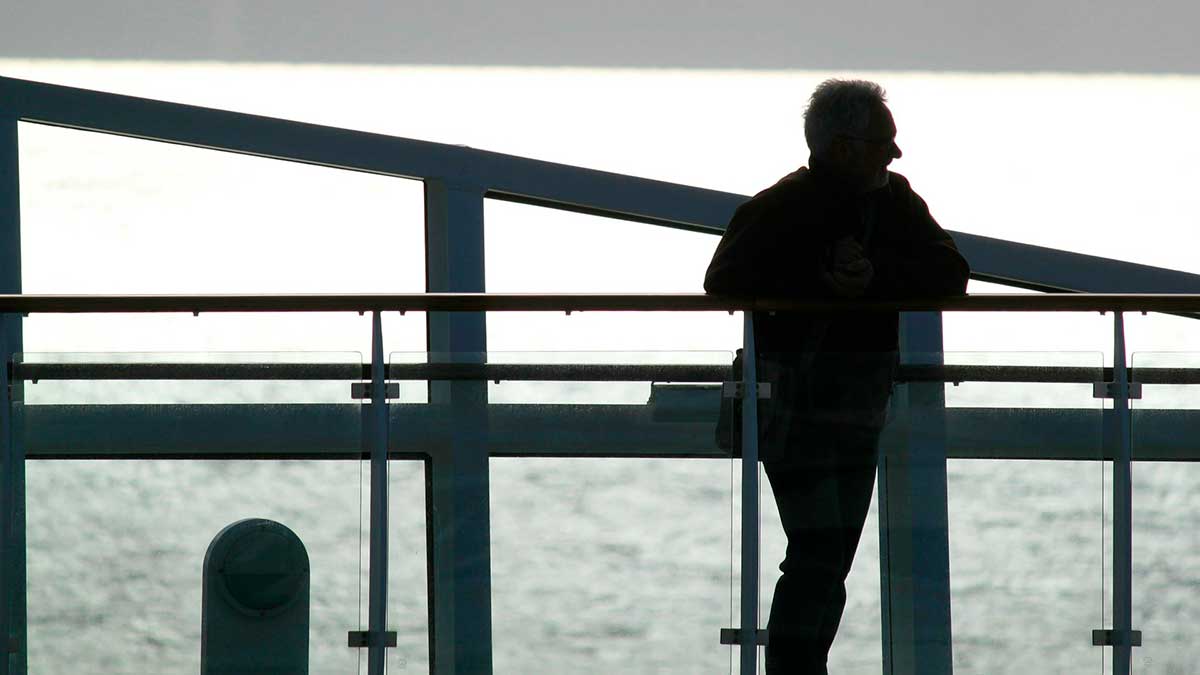
Focal point unclear
Another example of backlighting. As the photographer takes the picture, all they see is their companion leaning over the rails, face perfectly visible. However, the camera automatically adjust to the majority of the captured area, the sky and sea.
This capture results in the intended subject being entirely black. The same solution applies, take the photo from an alternative angle or ensure you focus the camera on the subject so the camera adjusts the photo lightness accordingly.
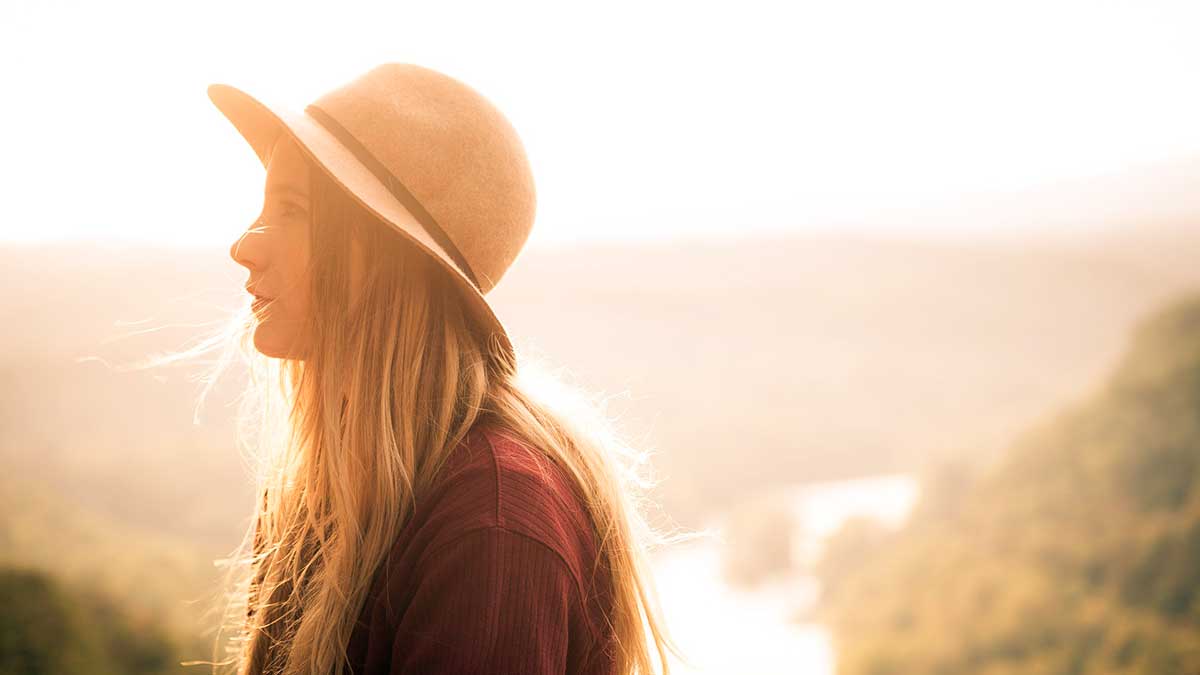
Backlit artistic effects
Backlighting in photography can be used intentionally to create a mystical effect with few visible details and softly faded colours resulting in a gently misty image.
This picture is a beautifully artistic shot. This capture requires careful thought and attention to detail in order to facilitate both the subject and the background carefully balanced.
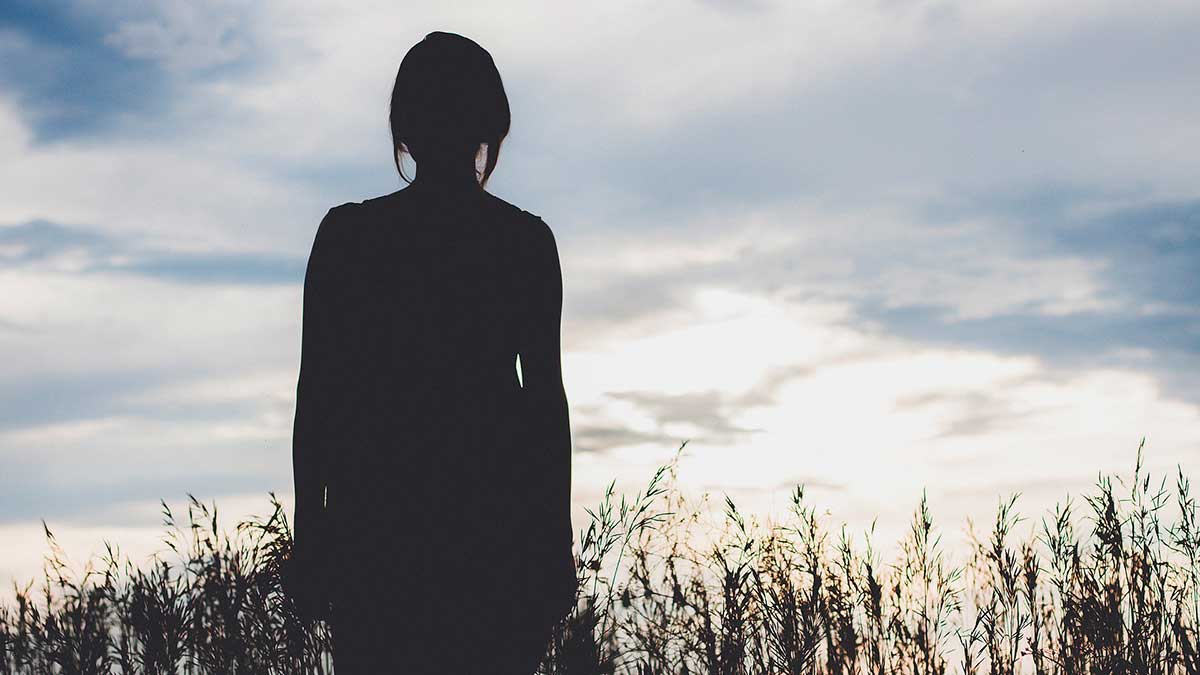
Silhouettes
A potentially lovely evening shot in a field with the ethereal textures of growing wheat set against a textured sky, however backlighting has caused the camera to leave the subject in silhouette.
Sometimes using backlighting in photography with a quirky pose in the sunset yields an amazing result, however this particular picture just leaves the viewer wondering who the subject is.
Do caps and hats cast shadows in photos?
Observe what your subjects are wearing
Faces in the shade of caps and hats
Mums love them, kids can love or dislike them, cameras definitely find them a challenge. The purpose of caps and hats is to provide shade, protecting the face from sunlight and potential damage by the sun’s rays. Unfortunately, this is precisely the reason why they are not photography friendly. Its perfectly natural for mum to want the children to wear a cap whilst away on a lovely sunny holiday, especially as in Britain our skin is unused to large quantities of sunshine. However the same device that provides shade and protection, also provides shadow. This means that the eyes and upper portion of faces become lost in darkness and lose definition, sometimes becoming not much more than dark blobs. Its lovely to take a photo of your daughter or son sitting by a rock on a beautiful sunny hillside, wearing their favourite cap ...
The eyes may be in shadow
When you view or print a photo with a hat or cap, your child’s face is not much more than a dark blob, hardly visible beneath the cap. So remember to ask your subjects to remove their hats or face towards the sun with their heads slightly raised whilst you take their photos. Seeing well lit eyes and faces makes your photos far more interesting. Lighting is often the main issue with many holiday snaps that include people, just take a moment to ensure that the camera is seeing the same image you are. We hope this article helps you with your holiday photography… and remember that at Poster Print Co, we will always try to ensure that your photos are printed at their very best, regardless of whether the light is perfect or not! For more hints on your holiday photography, why not see our article with hints on photo resolution and quality.
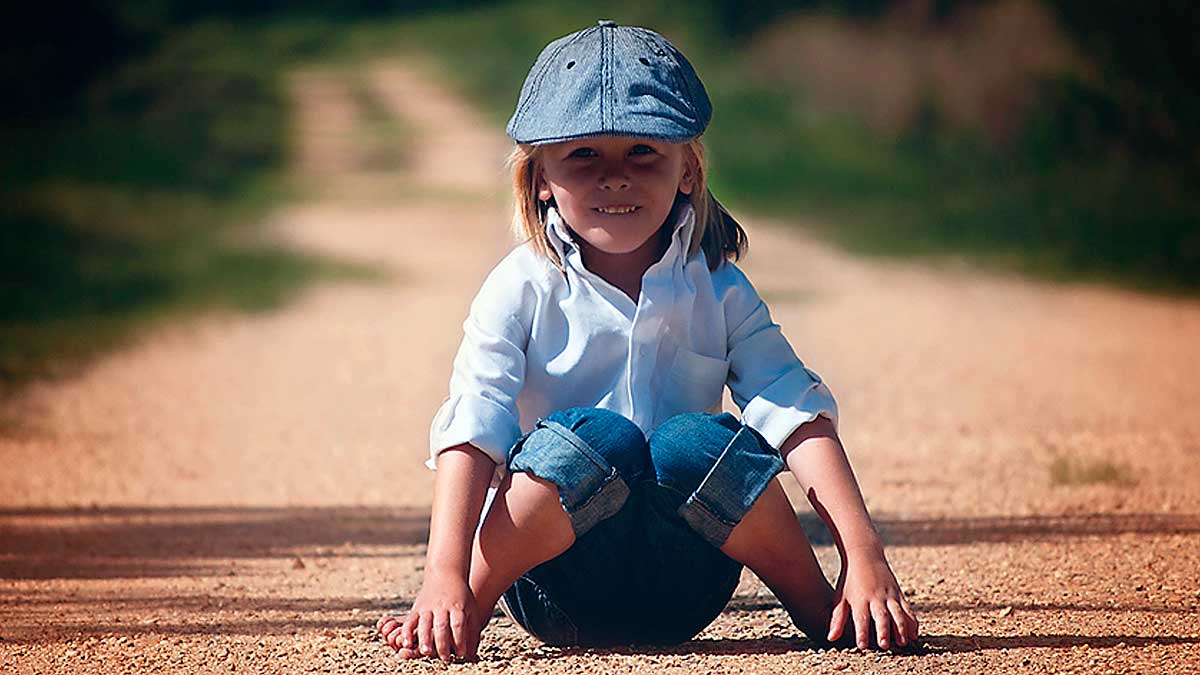
Posing with a favourite cap
A seemingly perfect, happy holiday pose. However, the face of the child is completely obscured by the shadow cast from the cap. Photos are best taken without caps if the sun is not coming from the correct direction in order to light the face.
Its normally preferable to compose a photo of your children in a way that allows you to see their faces, despite how cute they may appear. Another option is to tilt the cap back slightly so that less shadow is cast directly over the eyes.
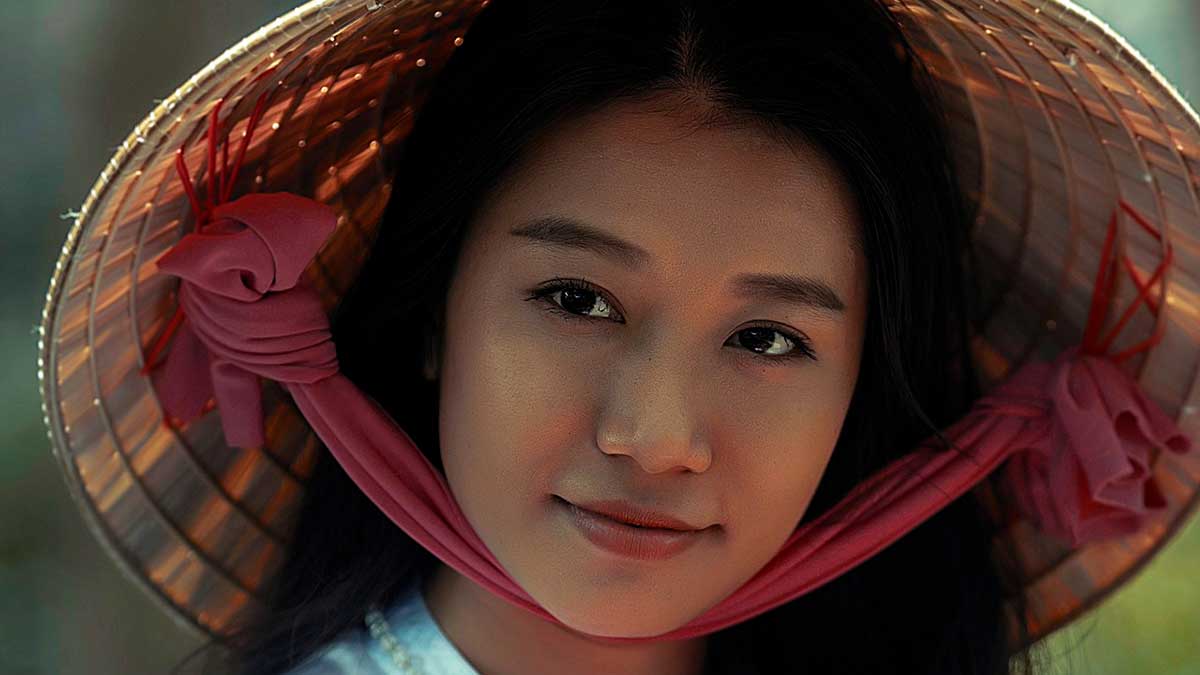
Take the time to consider the effects of light on your composition
A lovely shot with a beautiful face perfectly framed in a straw hat. However, the face is left indistinguishable as the sun is coming from behind. The golden rule for any picture is to always ensure that the sun is behind you.
Sometimes the most beneficial method is simply asking your subject to turn around and face the sun. That way, all of your holiday photography will capture the faces of the people who shared your adventures with you.
NEVER FEAR ... At Poster Print, we always do our best to ensure your photos become stunning prints.
